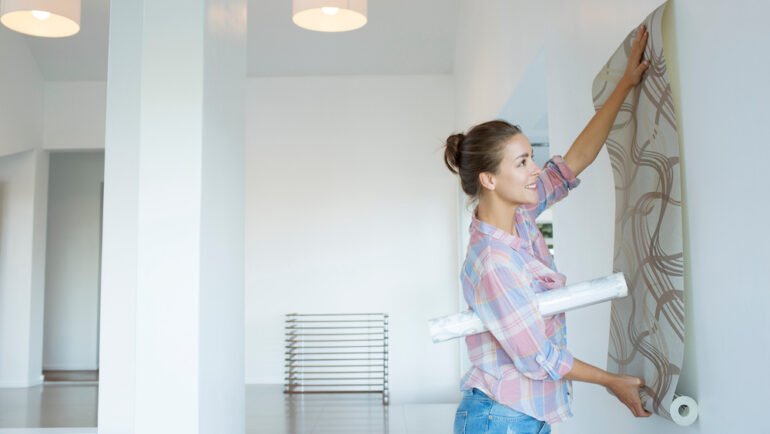
Peel-and-stick wallpaper and borders are more popular than ever. Peel and stick is simple: no water, glue or mess. Is it a better choice for you than standard wallpaper? Here’s our guide to the advantages and disadvantages of peel-and-stick wallpaper, plus advice on how to apply it.
Advantages of peel-and-stick wallpaper
- Peel-and-stick wallpaper tends to be less expensive than traditional wallpaper, which can cost hundreds of dollars per roll.
- Hanging traditional wallpaper is messy and requires a professional installer. This factor is another reason peel-and-stick wallpaper, a DIY project, is a less expensive alternative to traditional wallpaper.
- Peel-and-stick wallpaper is easily removable, which makes it a perfect solution for ho-hum apartment walls. Even in a home where you can decorate as you please, peel and stick allows you to change up your decor far more easily than traditional wallpaper, which is difficult to remove.
Disadvantages of peel-and-stick wallpaper
- Peel and stick is not intended to be permanent, unlike traditional wallpaper, which can last for decades.
- While peel-and-stick wallpaper is easier to apply because of its ready-made adhesive backing, it’s harder to fix mistakes in hanging, like bubbles or misalignment, than traditional wallpaper.
Let’s get started
If you decide peel-and-stick wallpaper is the best choice for your decorating project, measure and multiply the height and width of each wall you’re papering to get its area. Add the walls’ areas together to determine the square footage of paper you’ll need. Each roll of wallpaper will show the area it will cover. Buy enough rolls for your square footage plus one extra.
Next, assemble these tools.
- A measuring tape.
- A box cutter or X-ACTO knife.
- A straight pin.
- A four-inch plastic paint scraper.
- A microfiber cloth.
- A hairdryer.
Preparation
Before you hang the paper, wipe all dust and dirt from the walls with a microfiber cloth. If dirt is stubborn, lightly wash with mild, soapy water and dry thoroughly before applying paper.
If your wall is bare Sheetrock with no paint or texture, apply a coat of primer paint before hanging peel-and-stick wallpaper. Otherwise, the paper will pull off chunks of Sheetrock when you remove it. If the wall is painted with matte or flat paint, you will also need a coat of primer to prevent the wallpaper’s adhesive from damaging the wall surface when it’s later removed. And if the wall has a textured surface, lightly sand it down so it doesn’t show through the paper, then apply a primer coat.
Hanging the paper
- After cutting your first strip of paper, begin hanging it at the top of the wall in an upper corner of the room. Peel the wallpaper backing from the top of the strip. Start with an inch of overlap on the ceiling above, pressing the paper into the ceiling and the juncture where the ceiling meets the wall. Cut off the overlap.
- Slowly apply the strip of paper, peeling the backing and smoothing it downward onto the wall with your hands as you go. If you encounter wrinkles and bubbles, pierce them with the straight pin and use the plastic scraper to work the flaw out gently. You can also use the hair dryer to warm the paper to help smooth out problems.
- At the bottom of the wall, press the paper tightly into the line along the top of the baseboard, then use the knife to run along that line. Pull the extra paper away, then press the paper down along the bottom with the plastic scraper.
- When applying the next strip, let it overlap the strip you just applied by a quarter-inch.
- When you reach the last space on the wall, if there is no room for the width of a full sheet, press the paper into the corner, top to bottom, and then cut along that edge with the knife.
- When you come to an electrical outlet or switch, remove the plate, drape the paper over the outlet or switch, and gently cut out a hole for the outlet or switch.
Related – Rolling Out the Options on Today’s Wallpaper Styles


